Google Cloud Key Management Service (KMS)
To meet these advanced needs, Ennote provides a seamless GCP KMS integration. This feature allows you to bypass our internal KMS and encrypt your secrets using your own key within your Google Cloud KMS environment. When configured, all encryption and decryption operations for a given project are handled exclusively by your GCP key, giving you complete custody and control over your most sensitive cryptographic assets. This guide will walk you through the steps to configure this external KMS support, empowering you with the ultimate choice in how your secrets are secured.
Configuring GCP KMS for Ennote
This guide assumes you have already created a GCP service account and a GCP Connection in Ennote, as detailed in our previous documentation.
Granting IAM Permissions
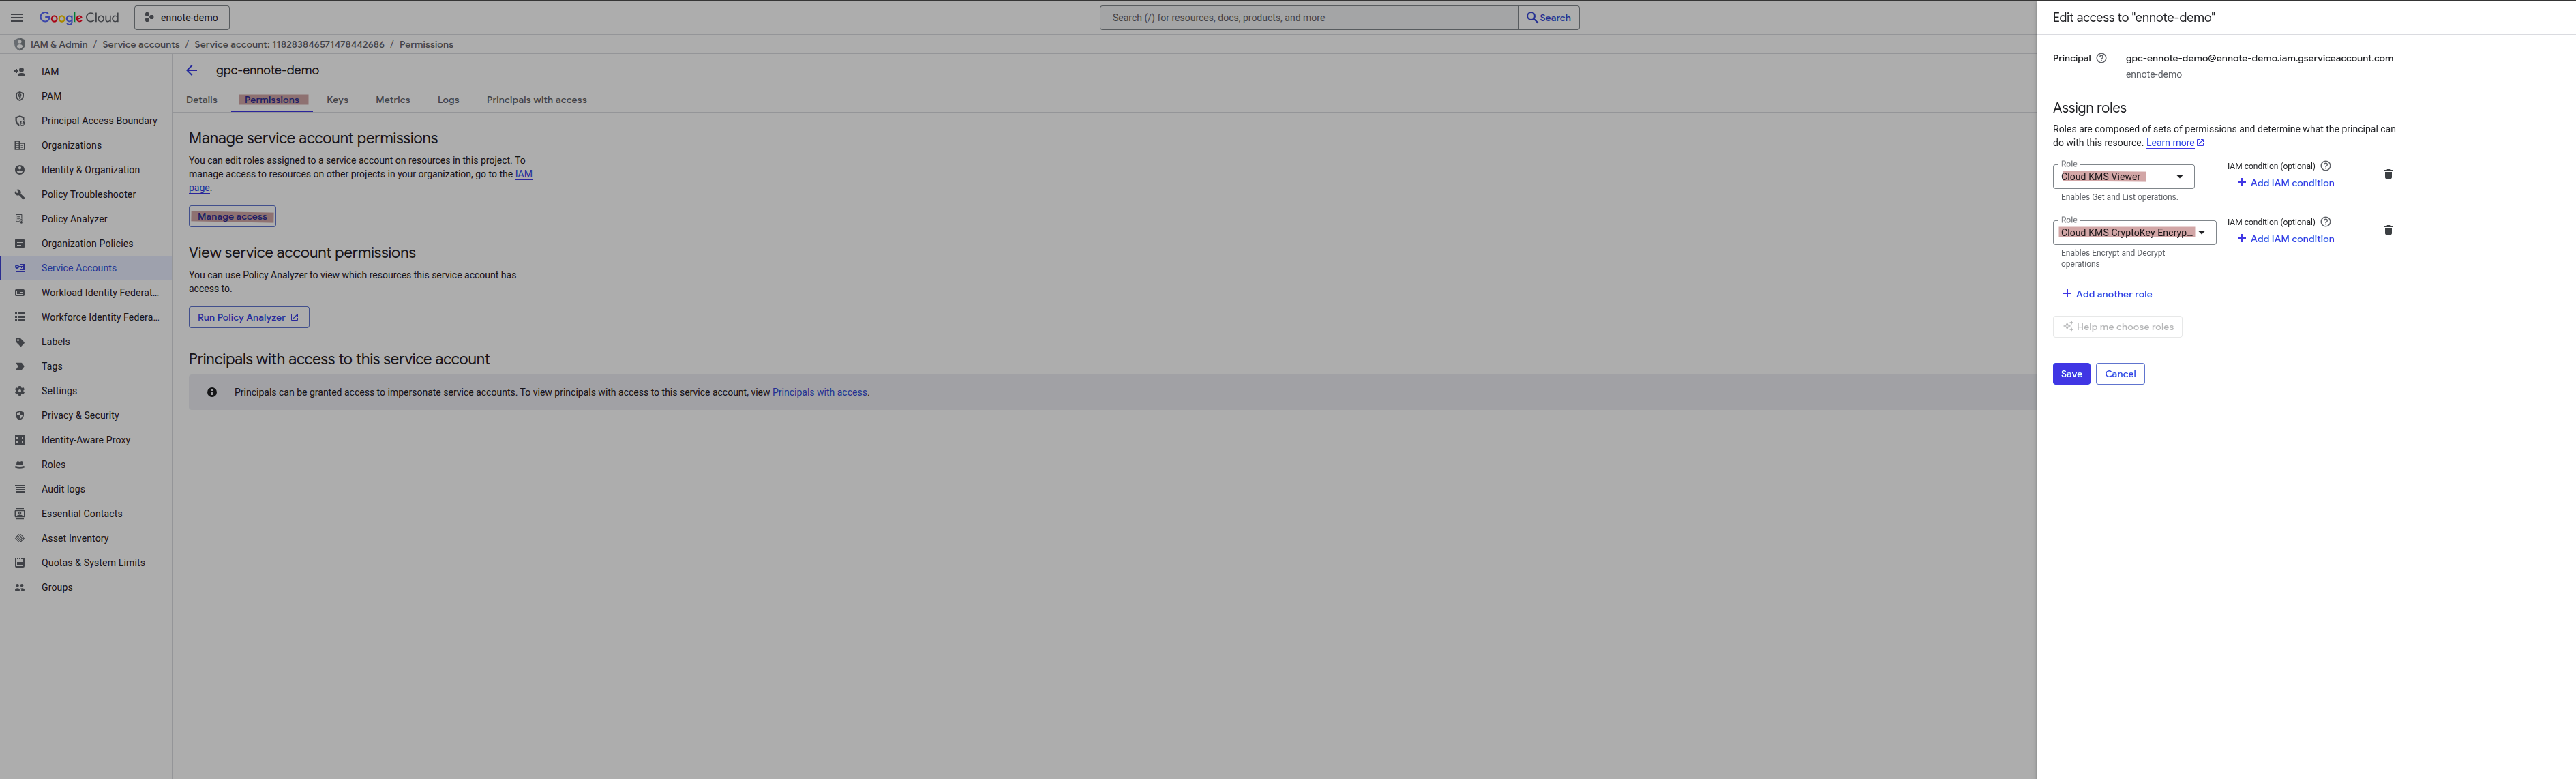
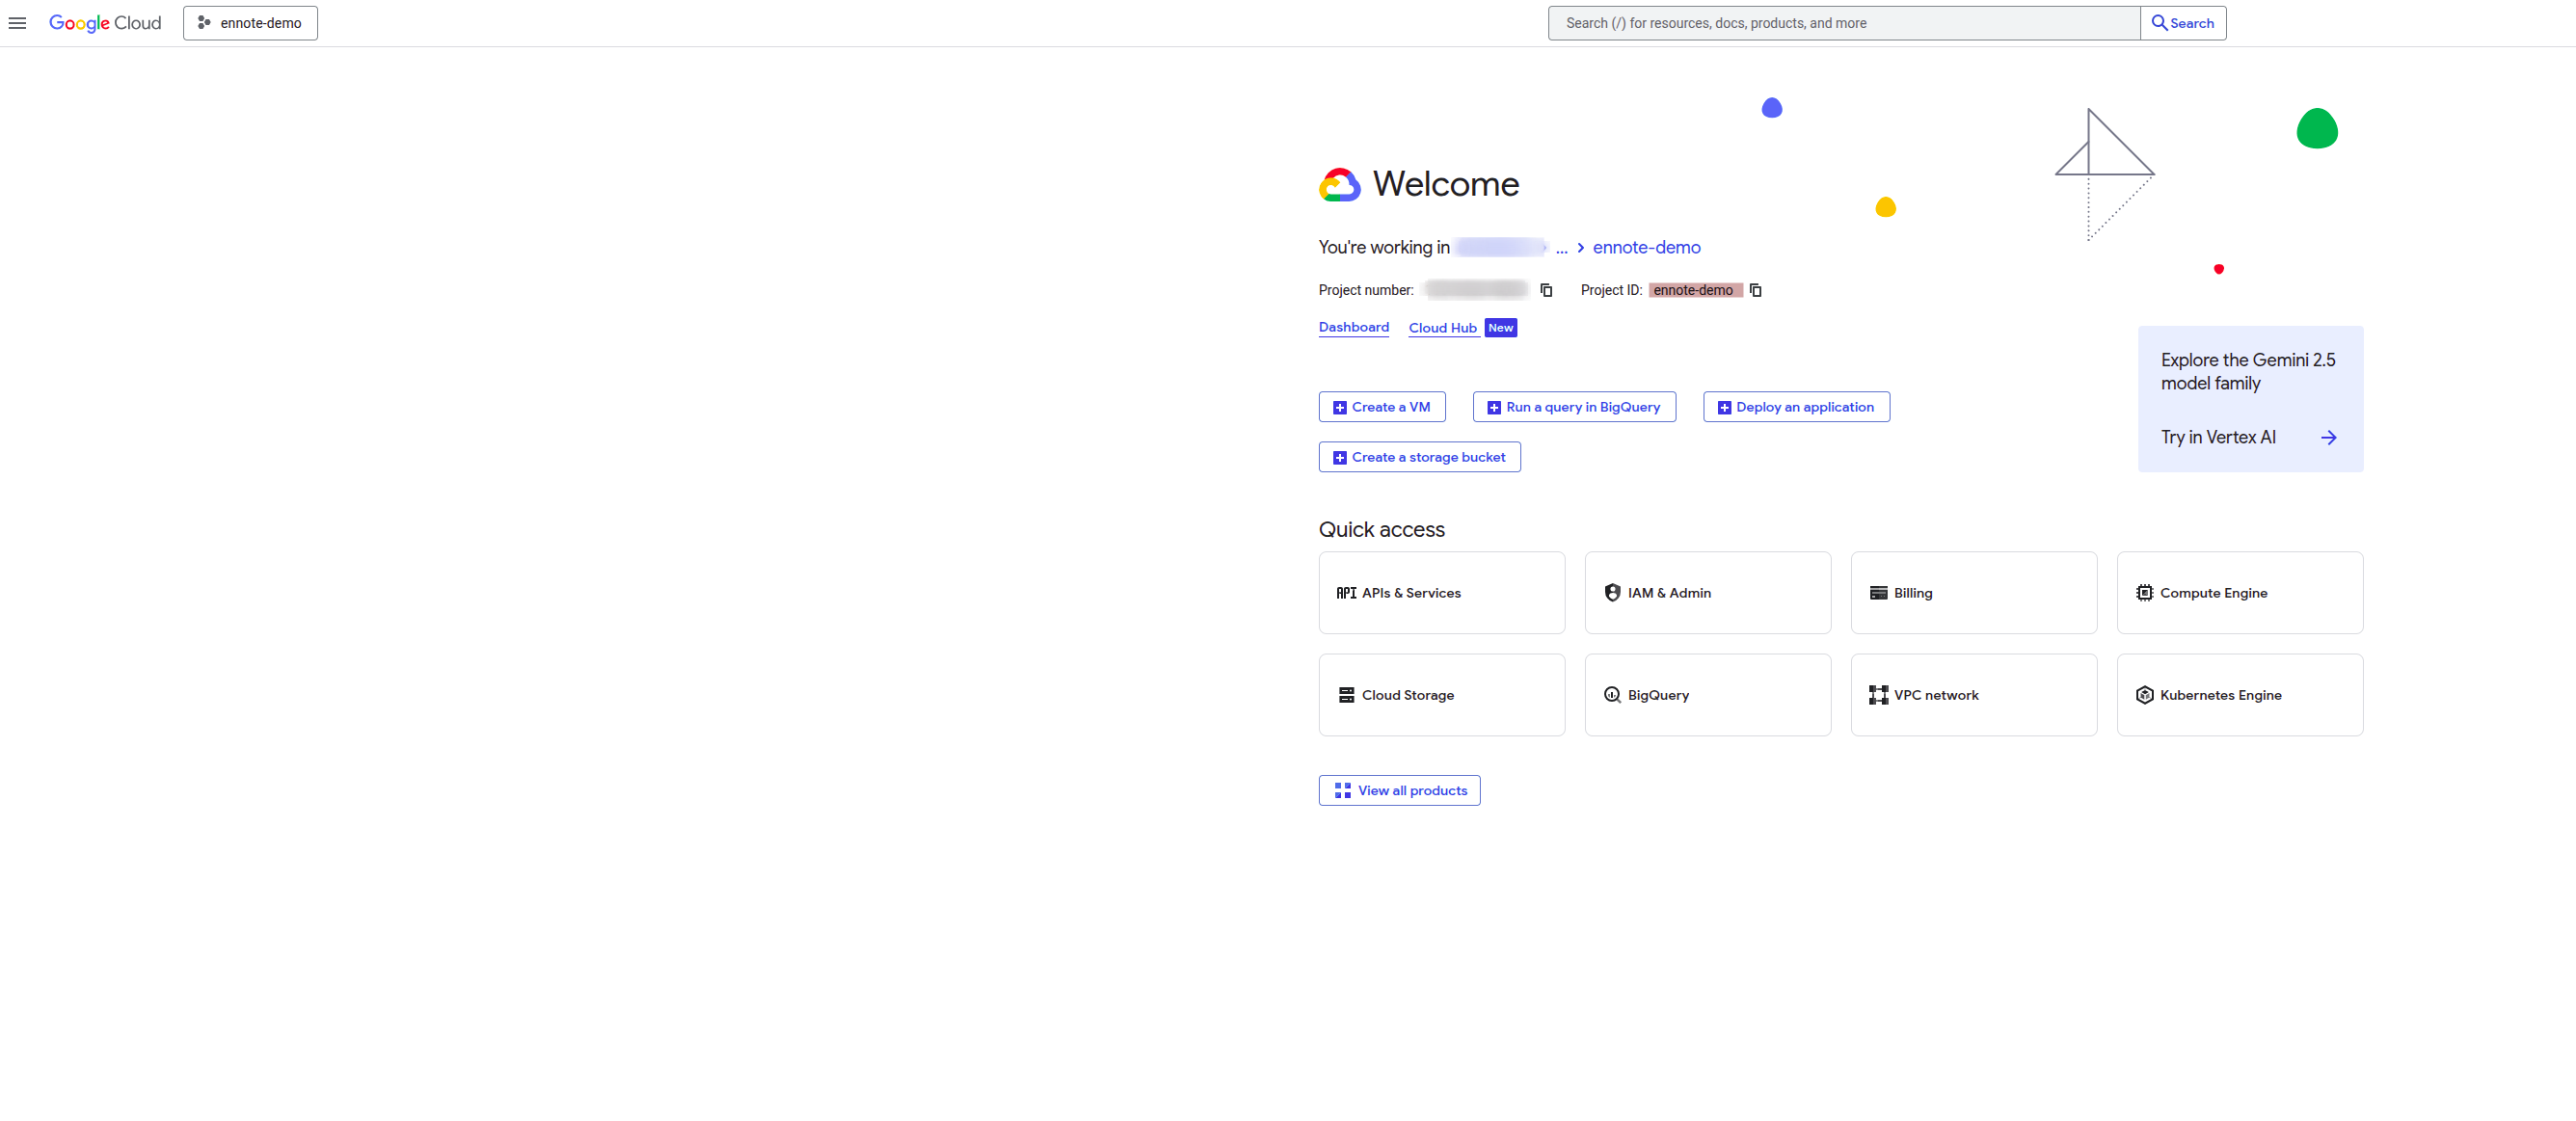
In your Google Cloud Console, navigate to the IAM & Admin section and assign the following roles to the Ennote service account you configured previously:
- Cloud KMS Viewer:This role is essential for Ennote to discover and view the cryptographic keys available in your project.
- Cloud KMS CryptoKey Encrypter/Decrypter:This critical role allows Ennote to perform encryption and decryption operations using the keys you define, without granting it broader administrative access.
Provisioning a New Key in GCP KMS
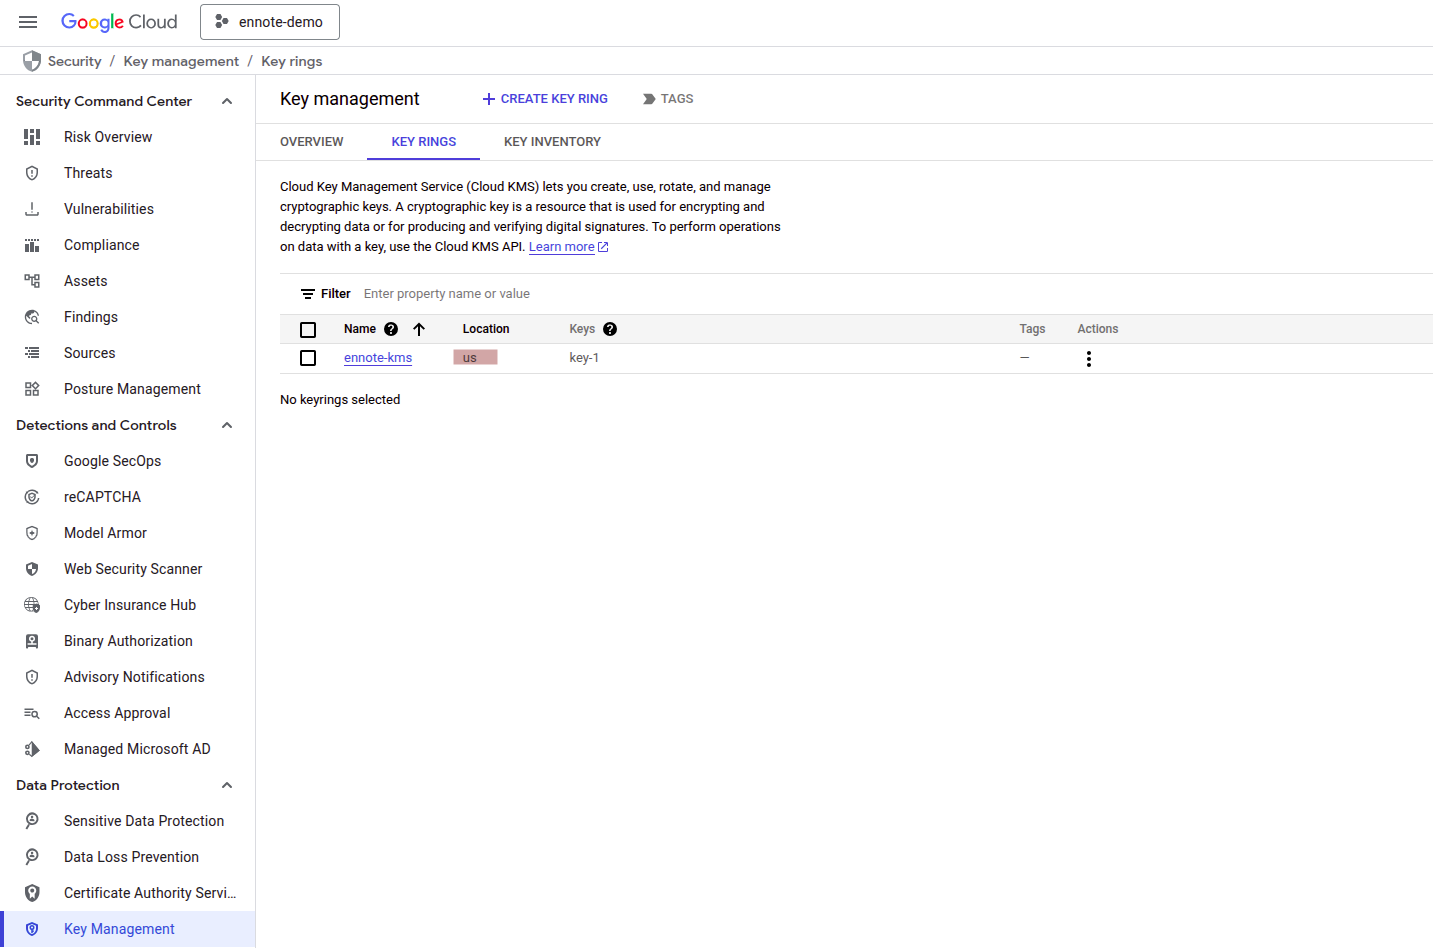
- Navigate to the Key Management section in your Google Cloud Console

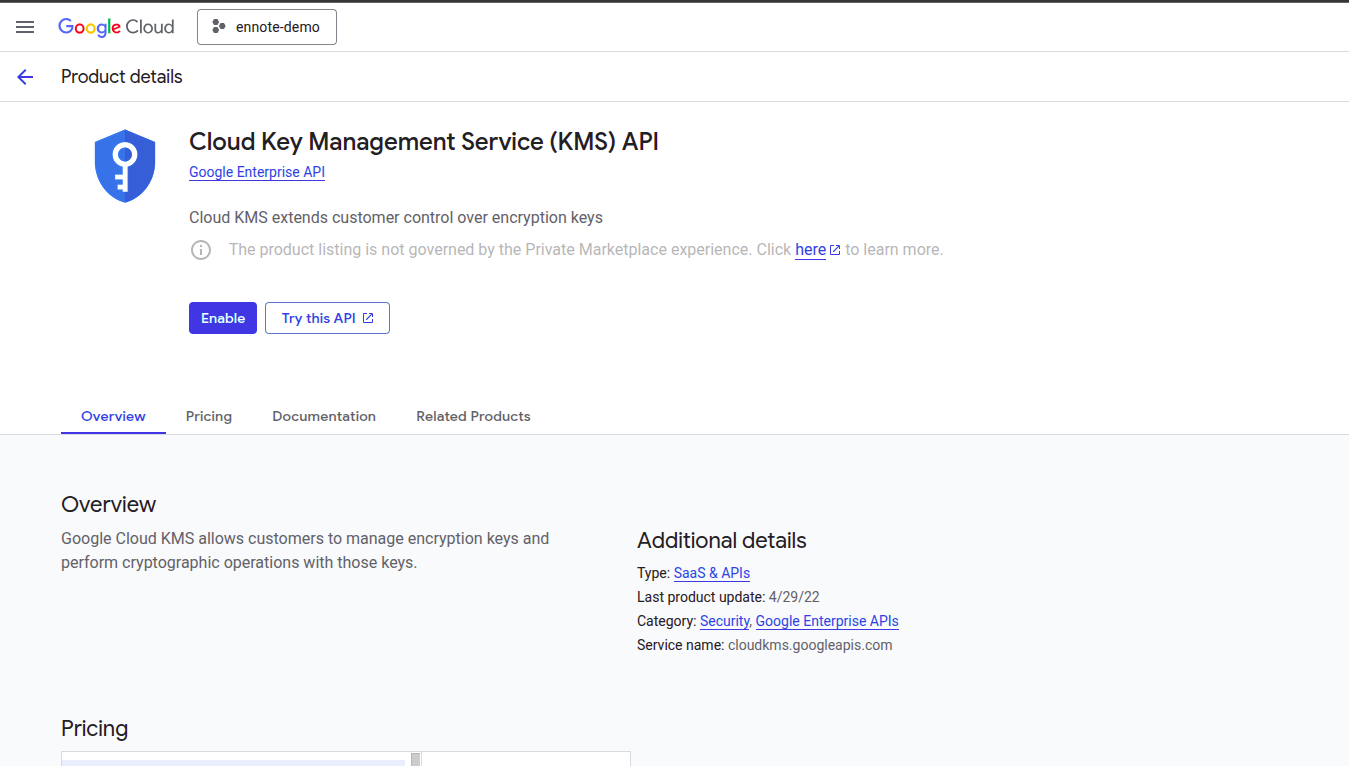
- Enable Cloud Key Management Service (KMS) API - Optional
For new GCP projects, the Cloud Key Management Service (KMS) API must be enabled before you can create keys. If this is your first time using KMS in this project, you will be prompted to enable the API. This is a standard, one-time step. (It may take a few minutes for the API to be enabled and KMS section of the Cloud Console to become viewable.)
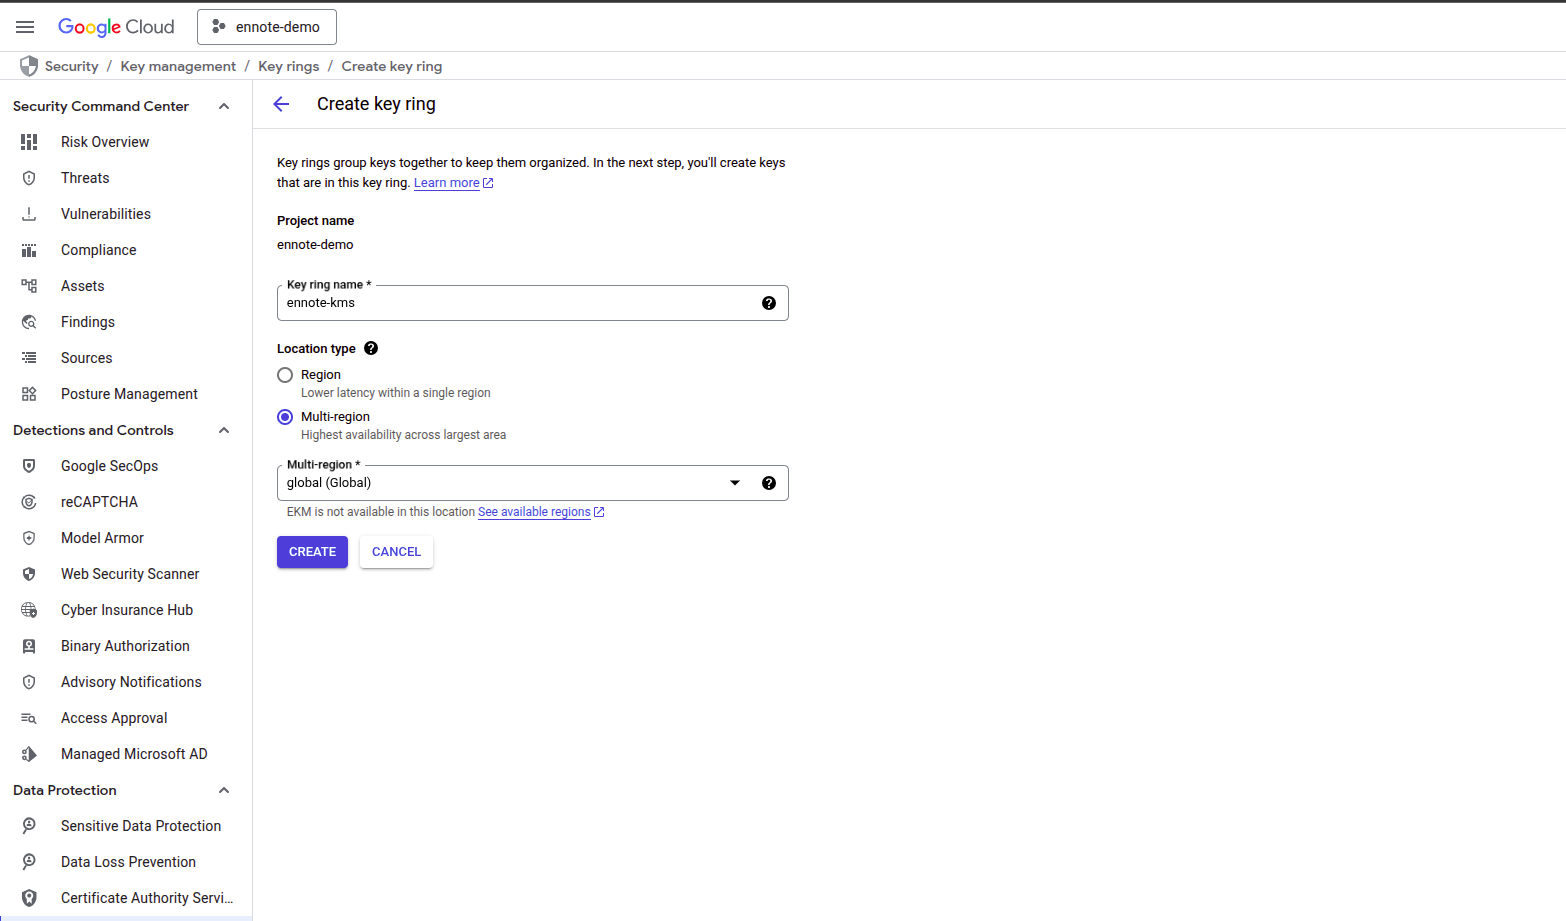
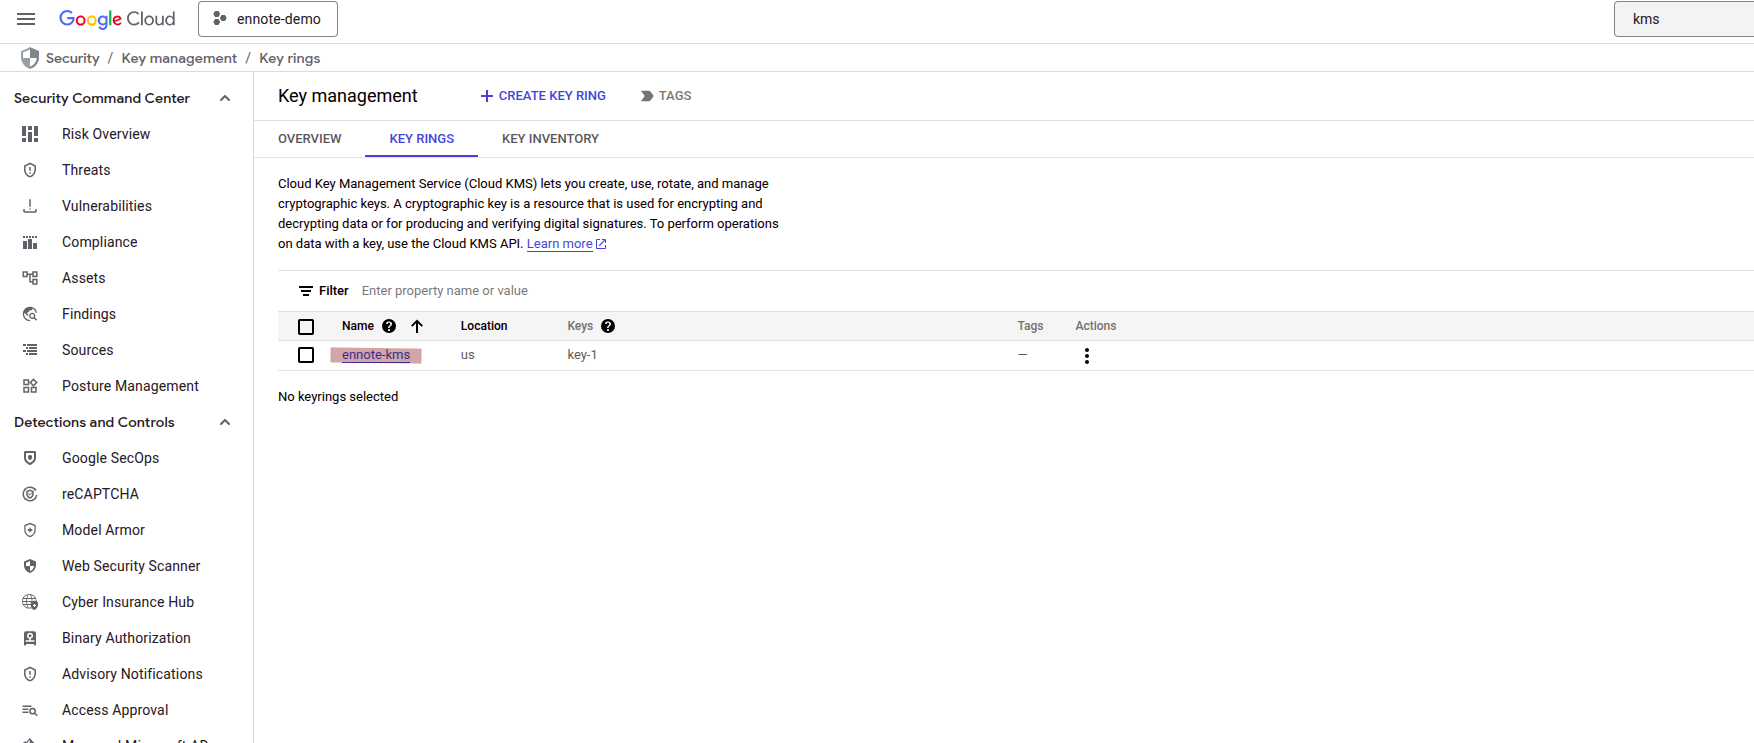
- Within the KMS section, click Create Key Ring. You can name the Key Ring and choose a location based on your data residency requirements.
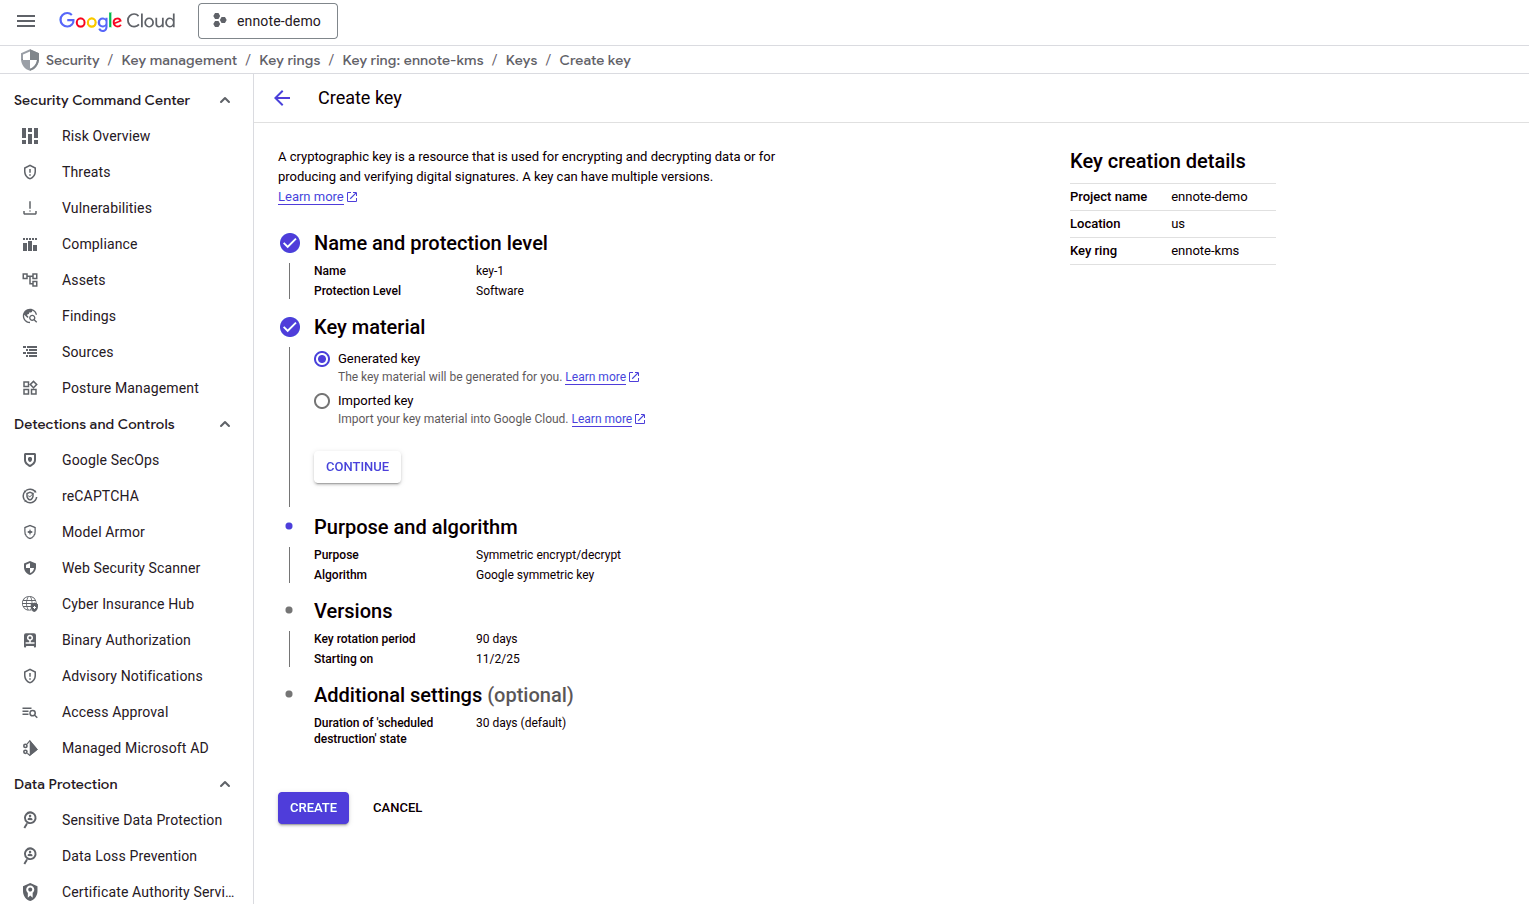
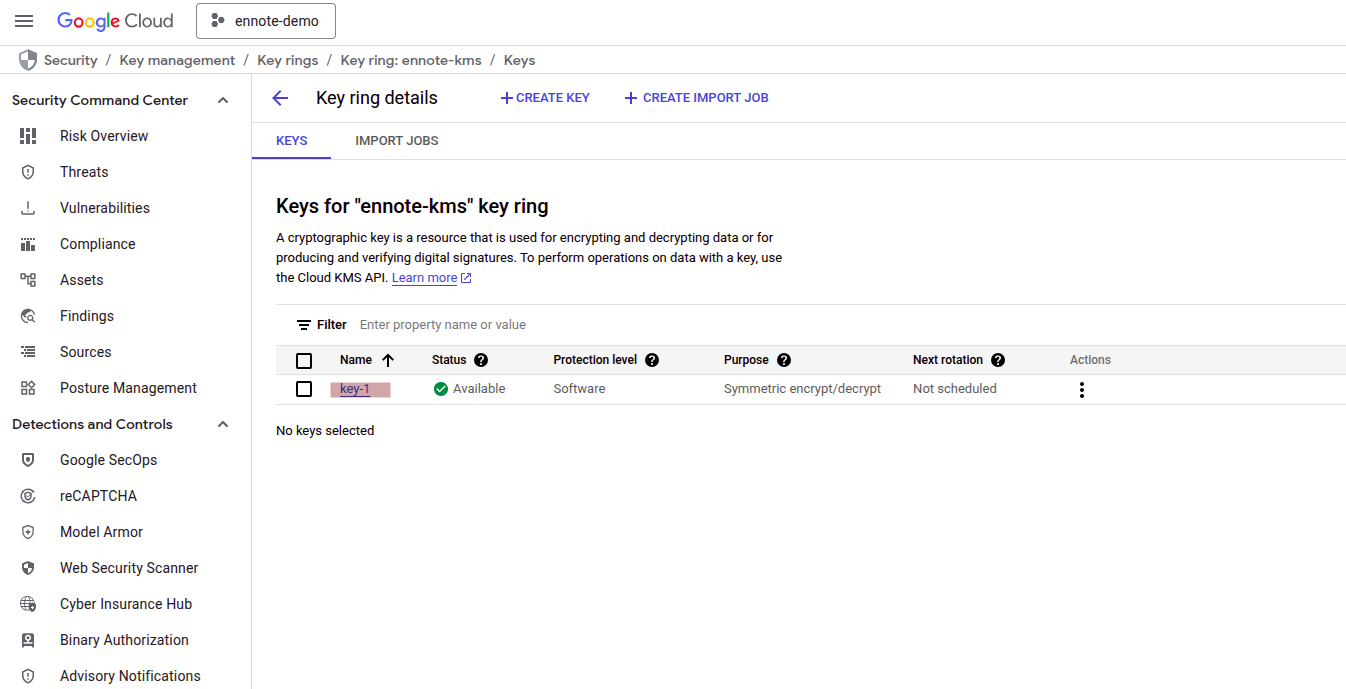
- On the subsequent page, Create Key, provide a descriptive Name for your new key.
Set the Protection Level according to your security requirements. The default Software level is suitable for most use cases. Click Continue.
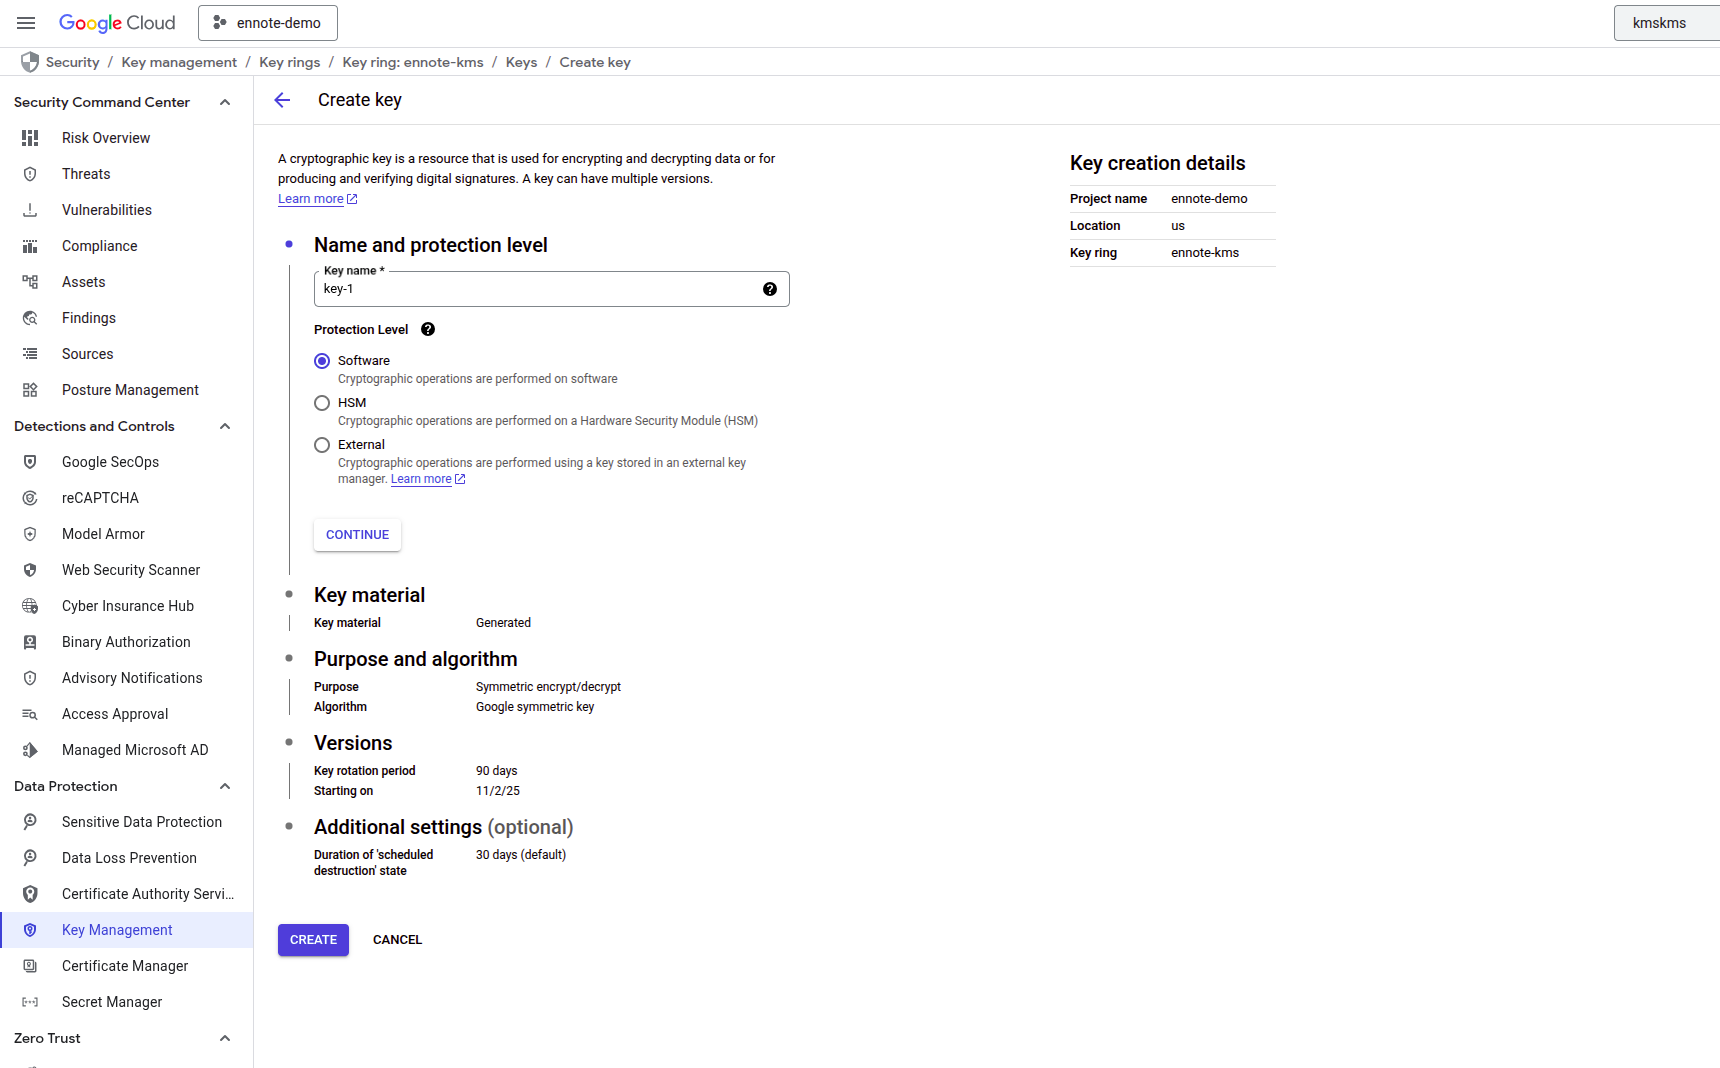
- Under the Key Material section, select Generated Key and click Continue.
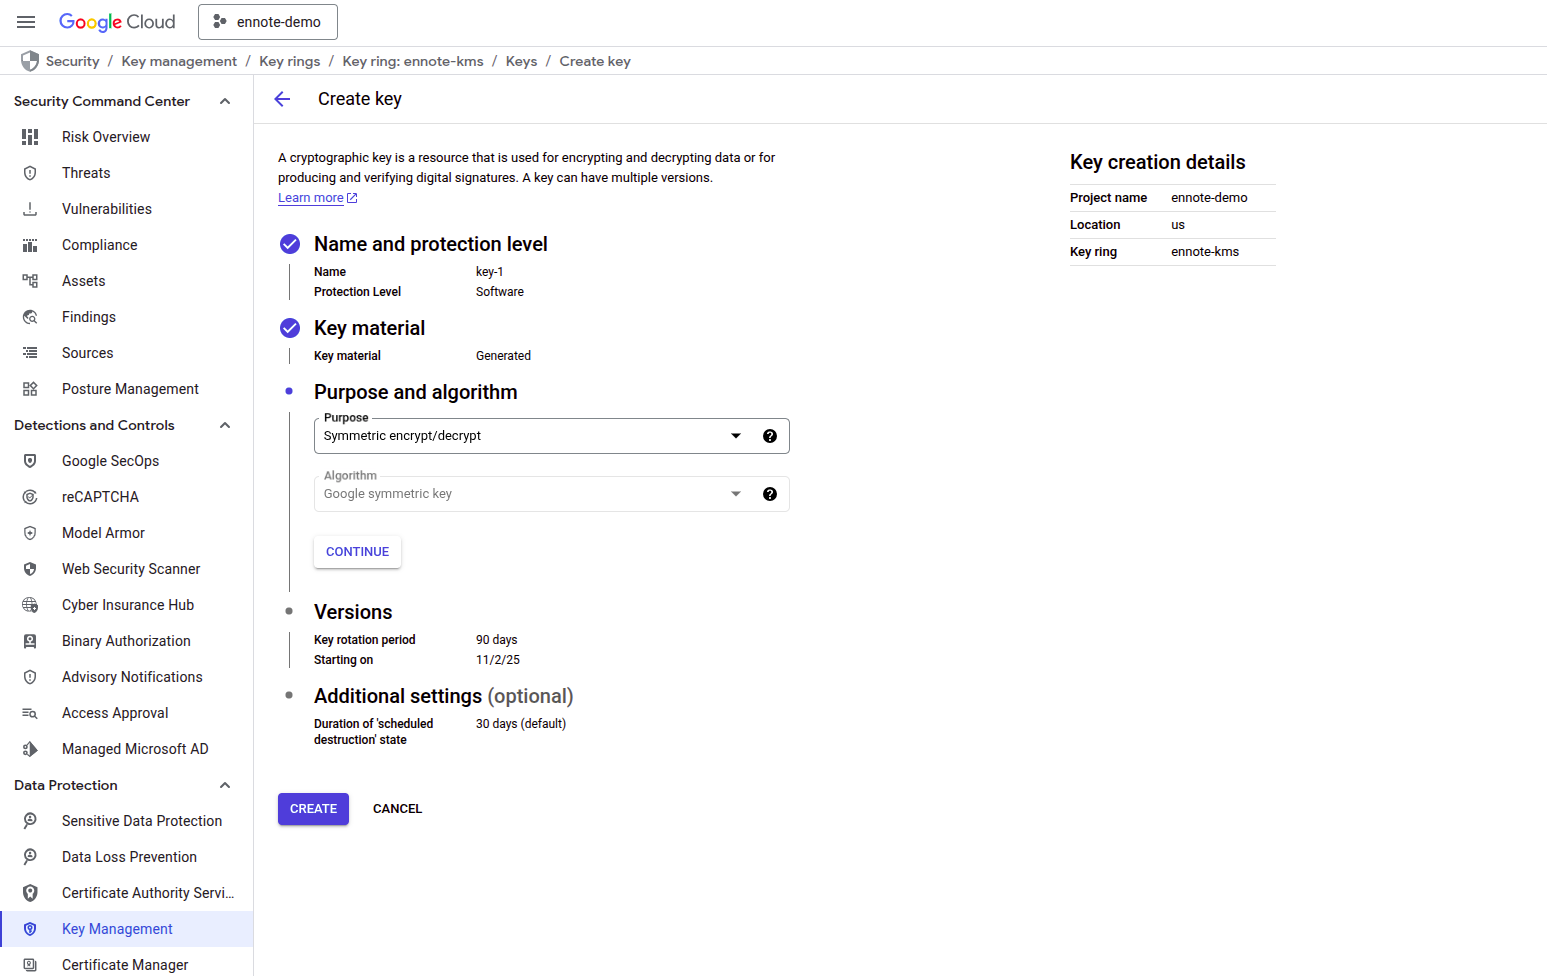
- For the Purpose, select Symmetric encrypt/decrypt to ensure the key is correctly configured for its intended use with Ennote. Click Continue.
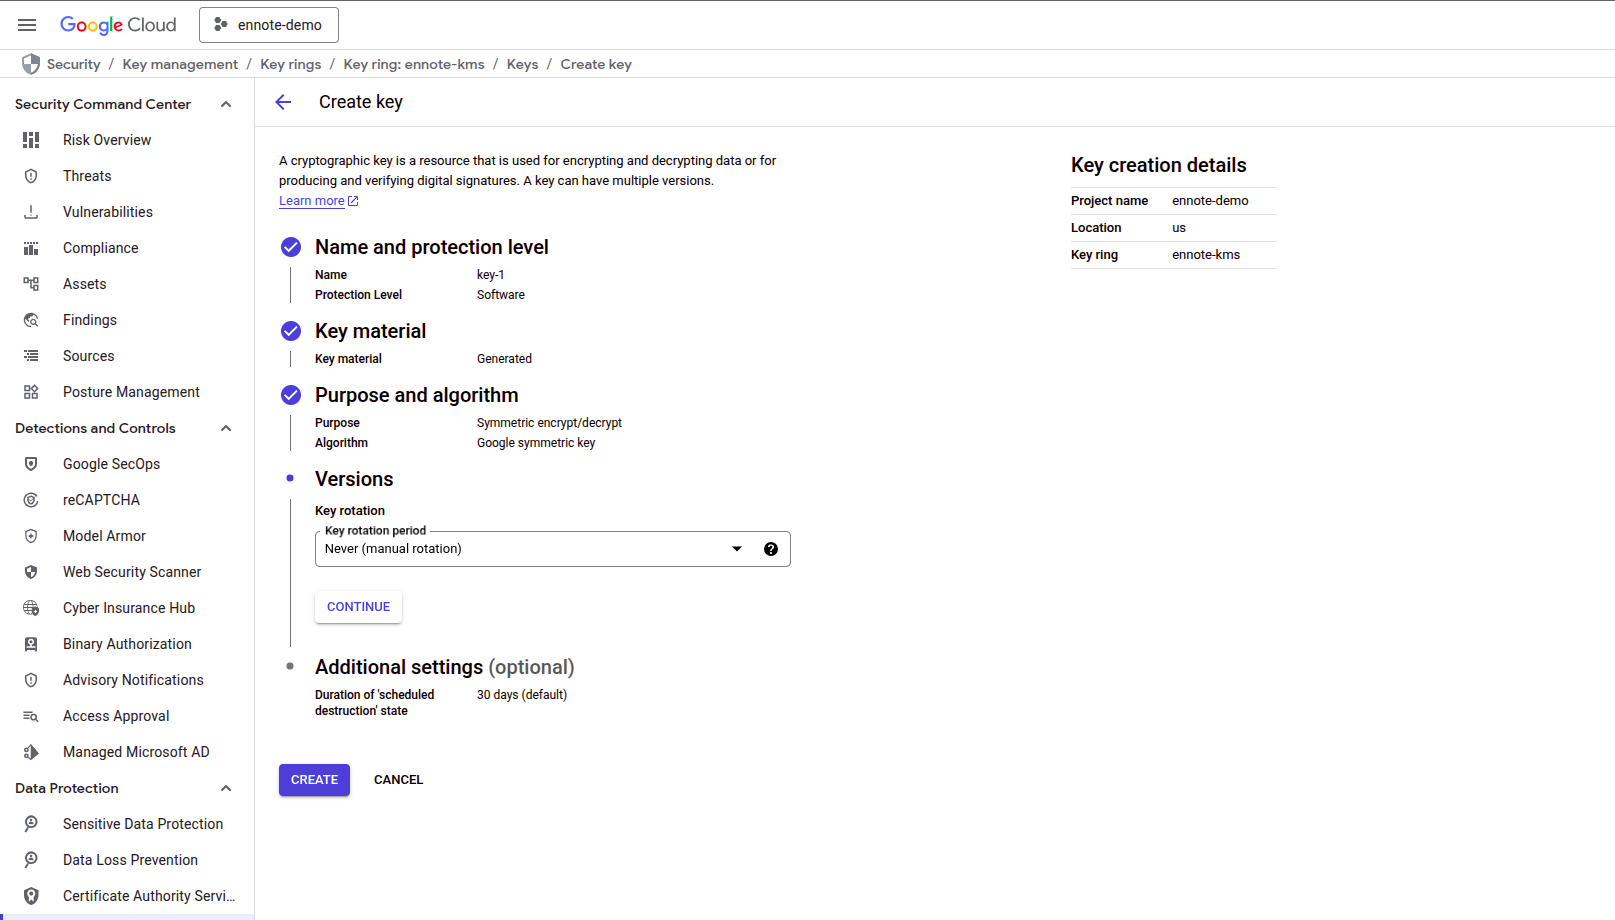
- For Key Rotation Period, select Never (manual rotation). Note: While Ennote will support automated key rotation in the future, all rotation must be performed manually within GCP at this time
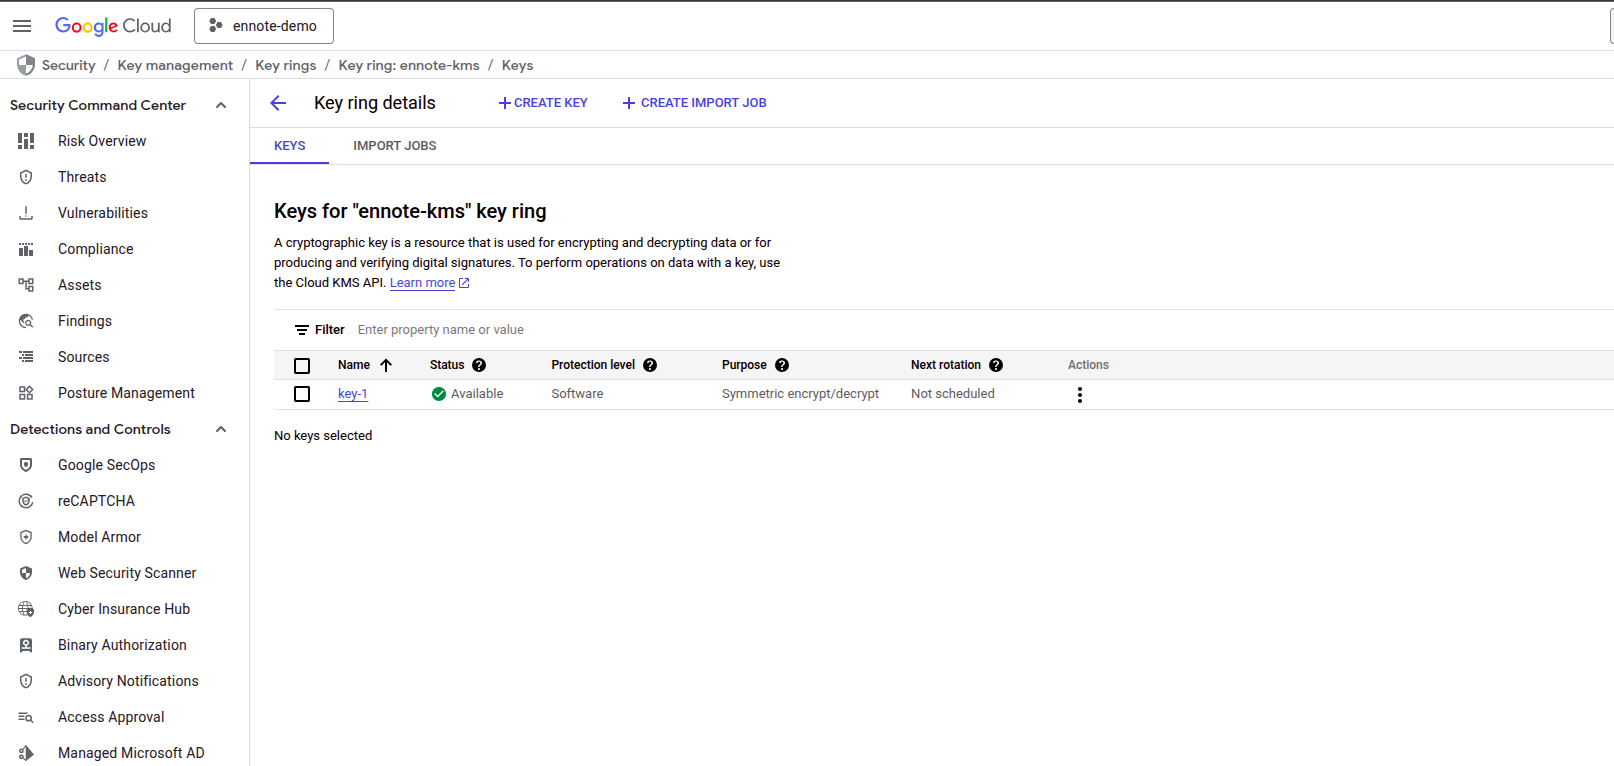
- Finally, click Create. Your new key should now appear in the list of keys, fully provisioned and ready for integration with Ennote.
Configuring the KMS Key within Ennote
With your new key provisioned in GCP, the final step is to configure it within your Ennote organization settings. This completes the integration, linking your Ennote projects to your external KMS.
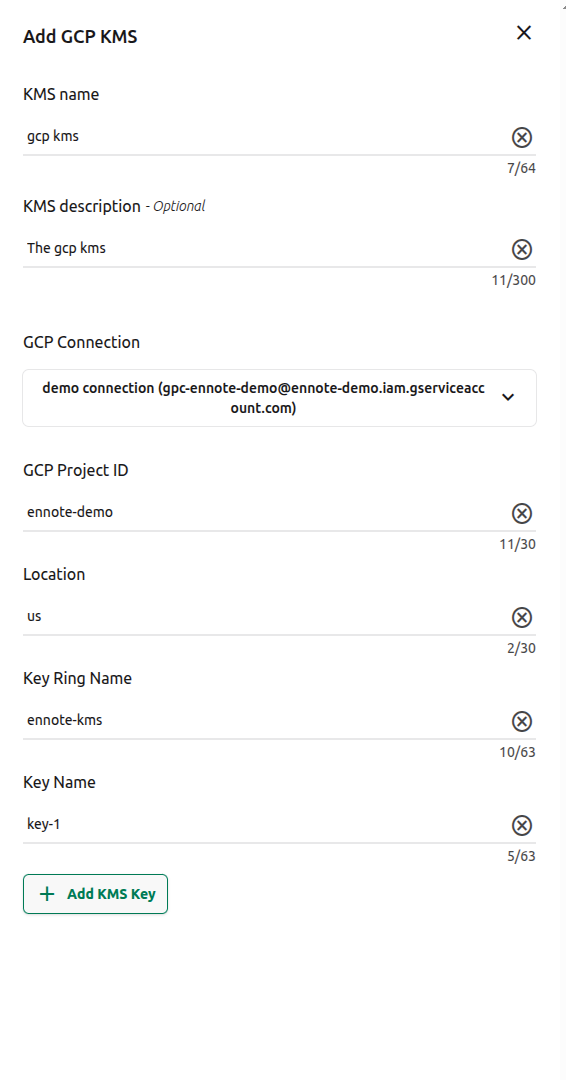
- KMS Name:A unique and descriptive name for this KMS key within Ennote
- KMS Description (Optional):Provide any additional context, such as which team or project this key is for.
- GCP Connection:Select the GCP connection you created in the previous documentation. This establishes the secure link to your GCP project.
- GCP Project ID:Enter the ID of the Google Cloud project where you created the KMS key.
- Location:Specify the region where your GCP Key Ring is located. This ensures Ennote can find the key.
- Key Ring Name:Enter the name of the Key Ring you created in the previous step.
- Key Name:Enter the specific name of the key you created for symmetric encryption.
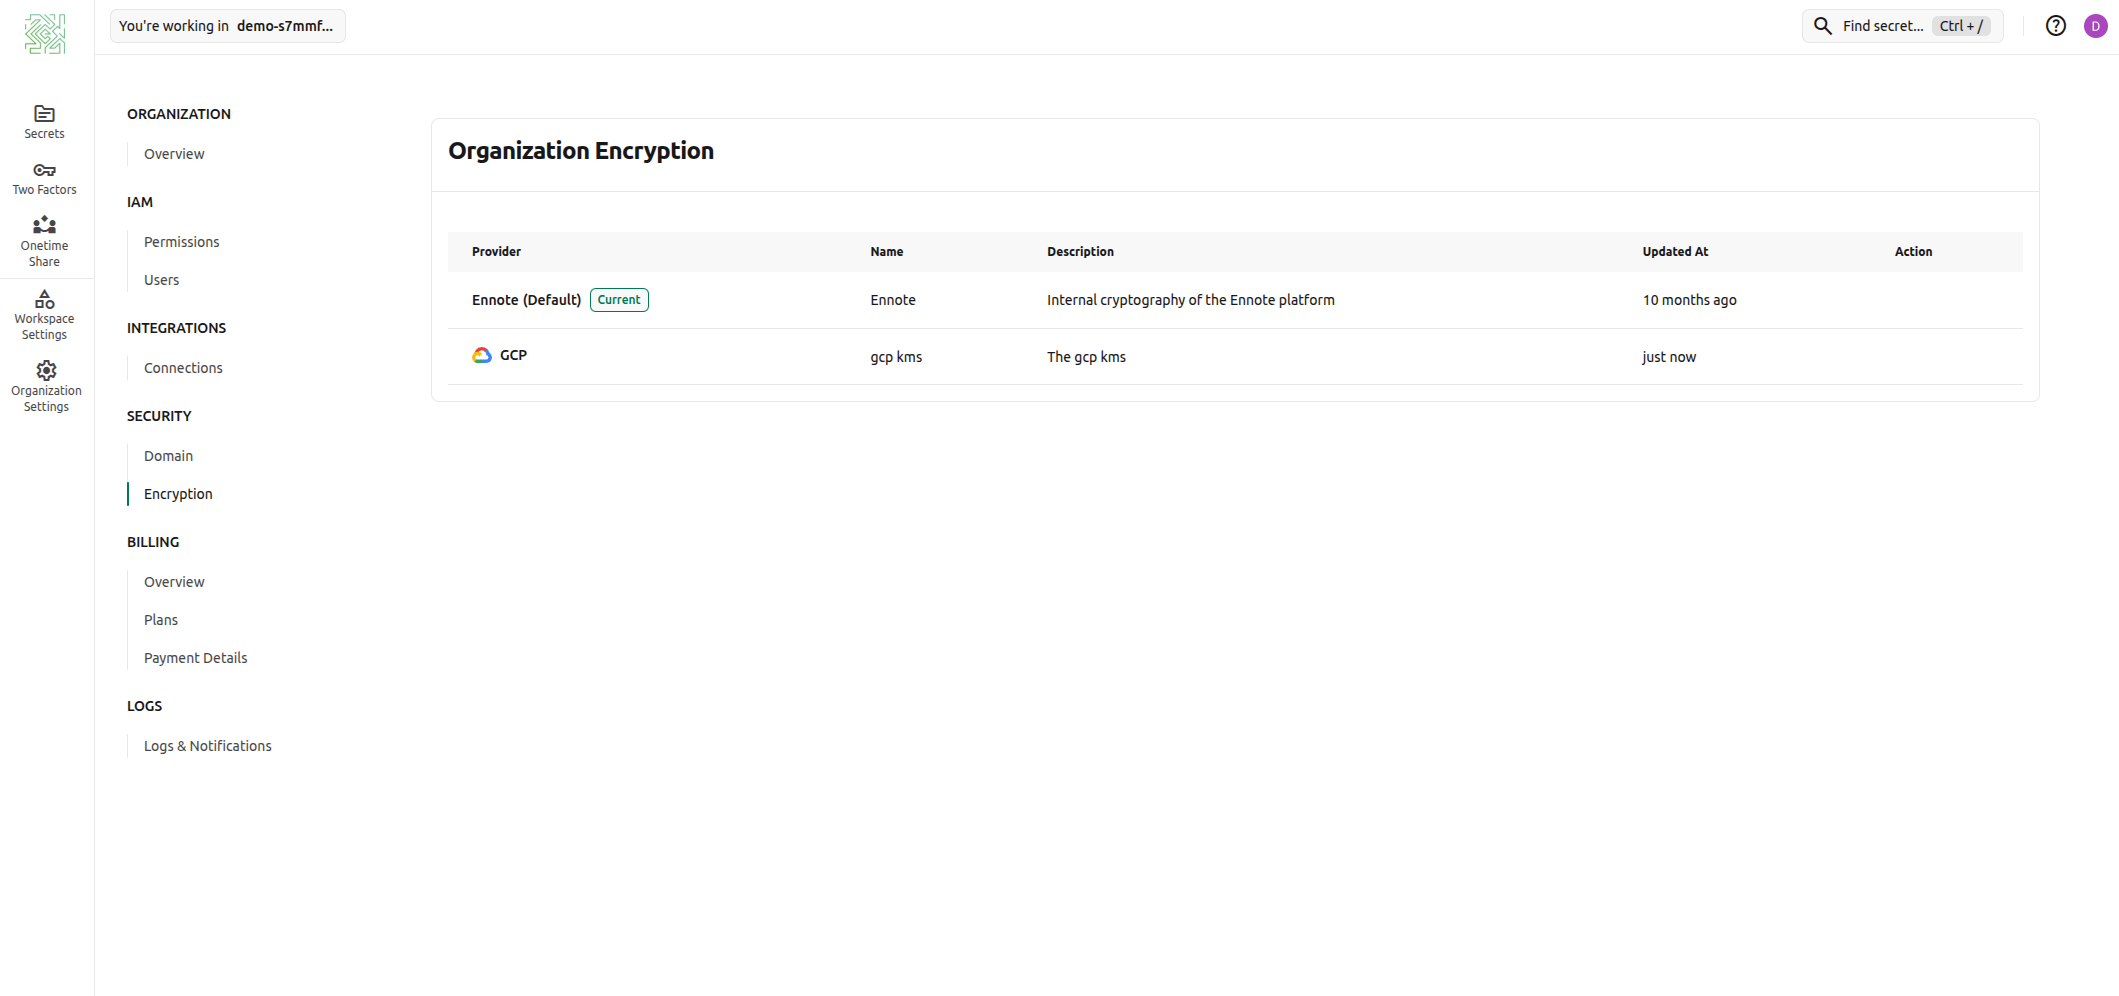
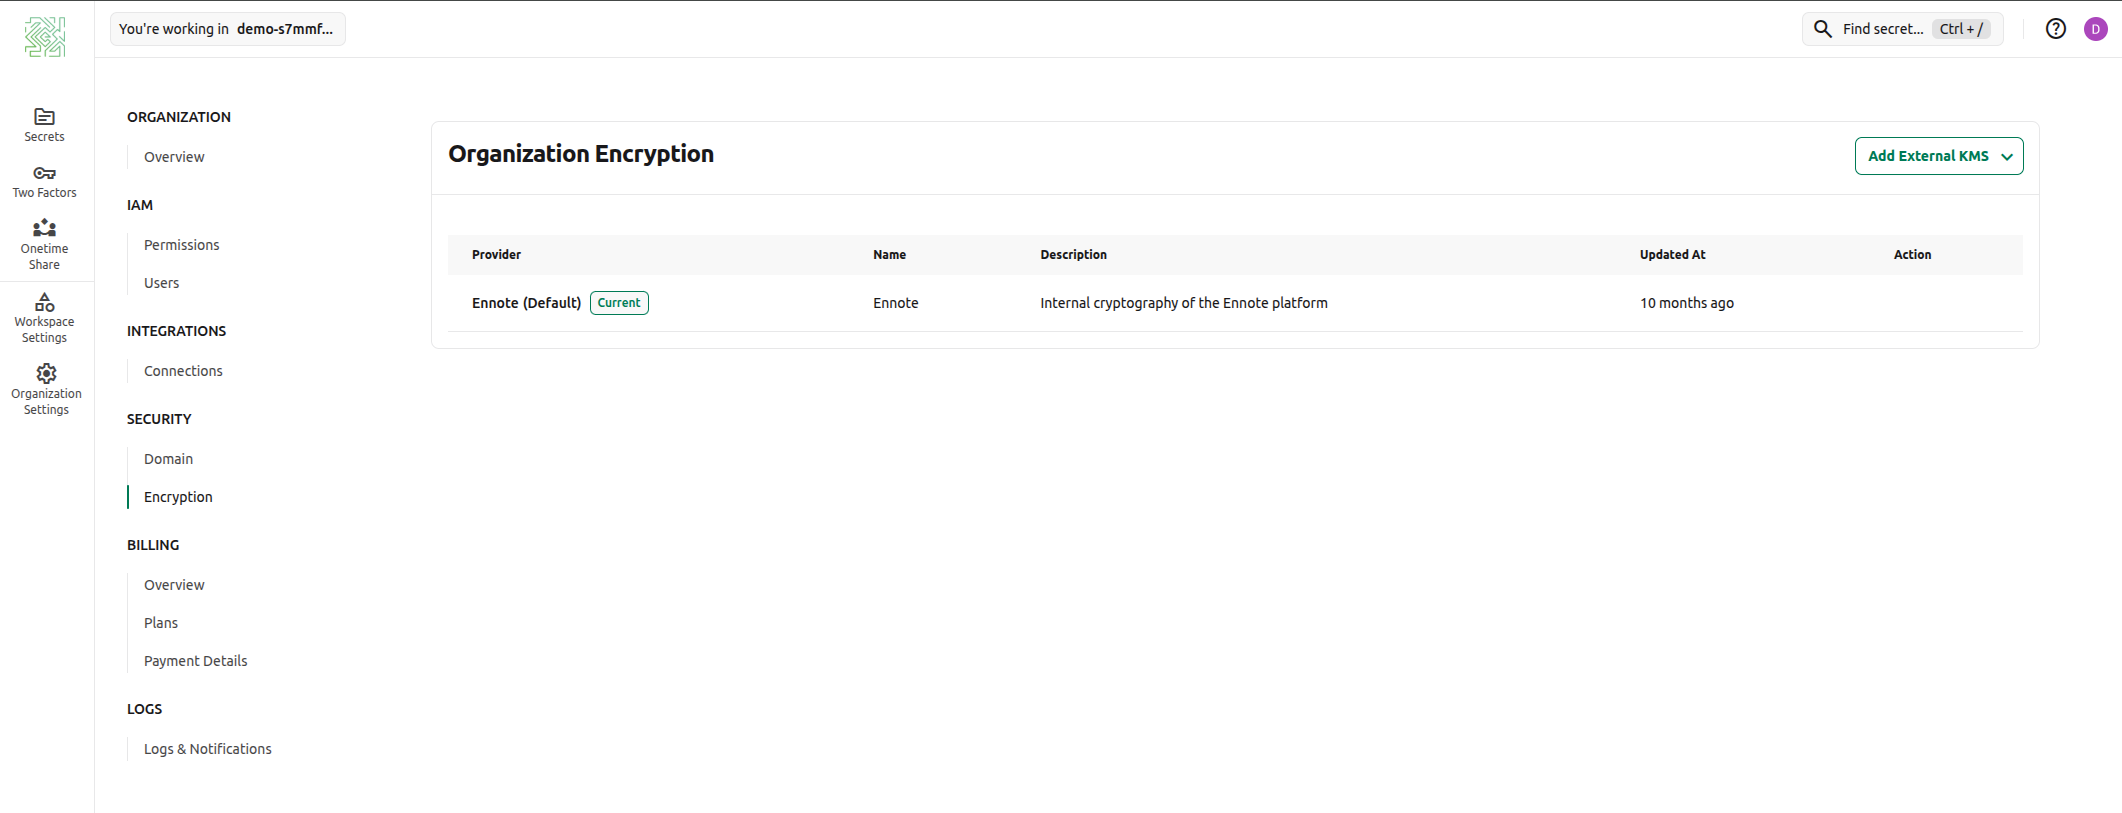
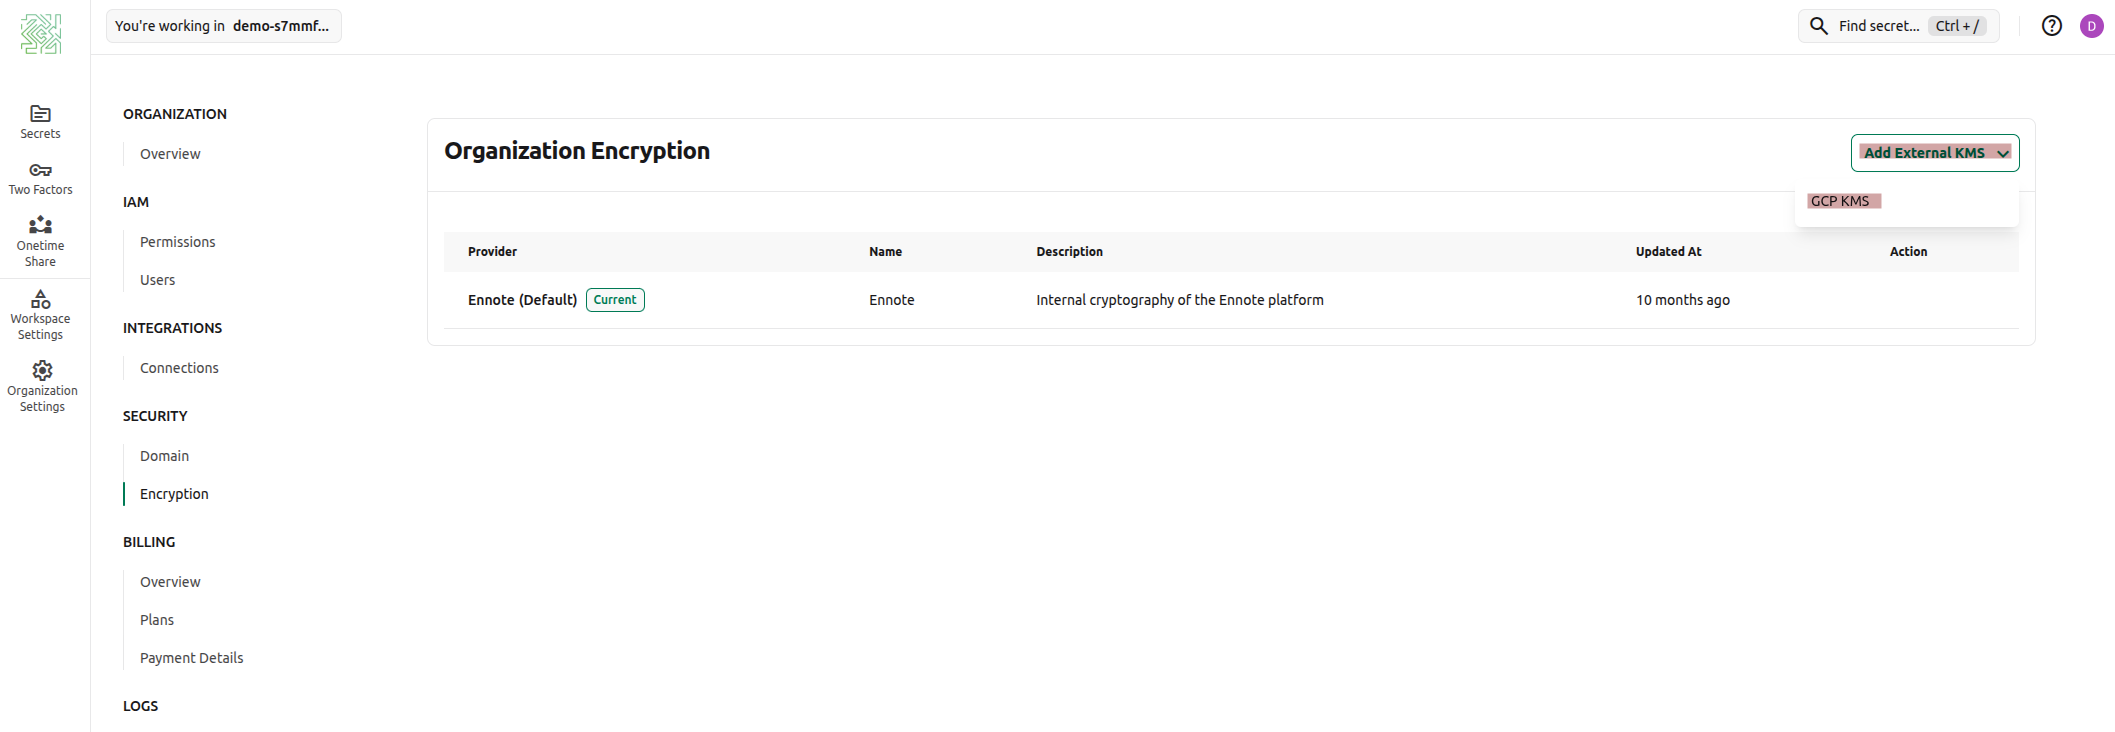
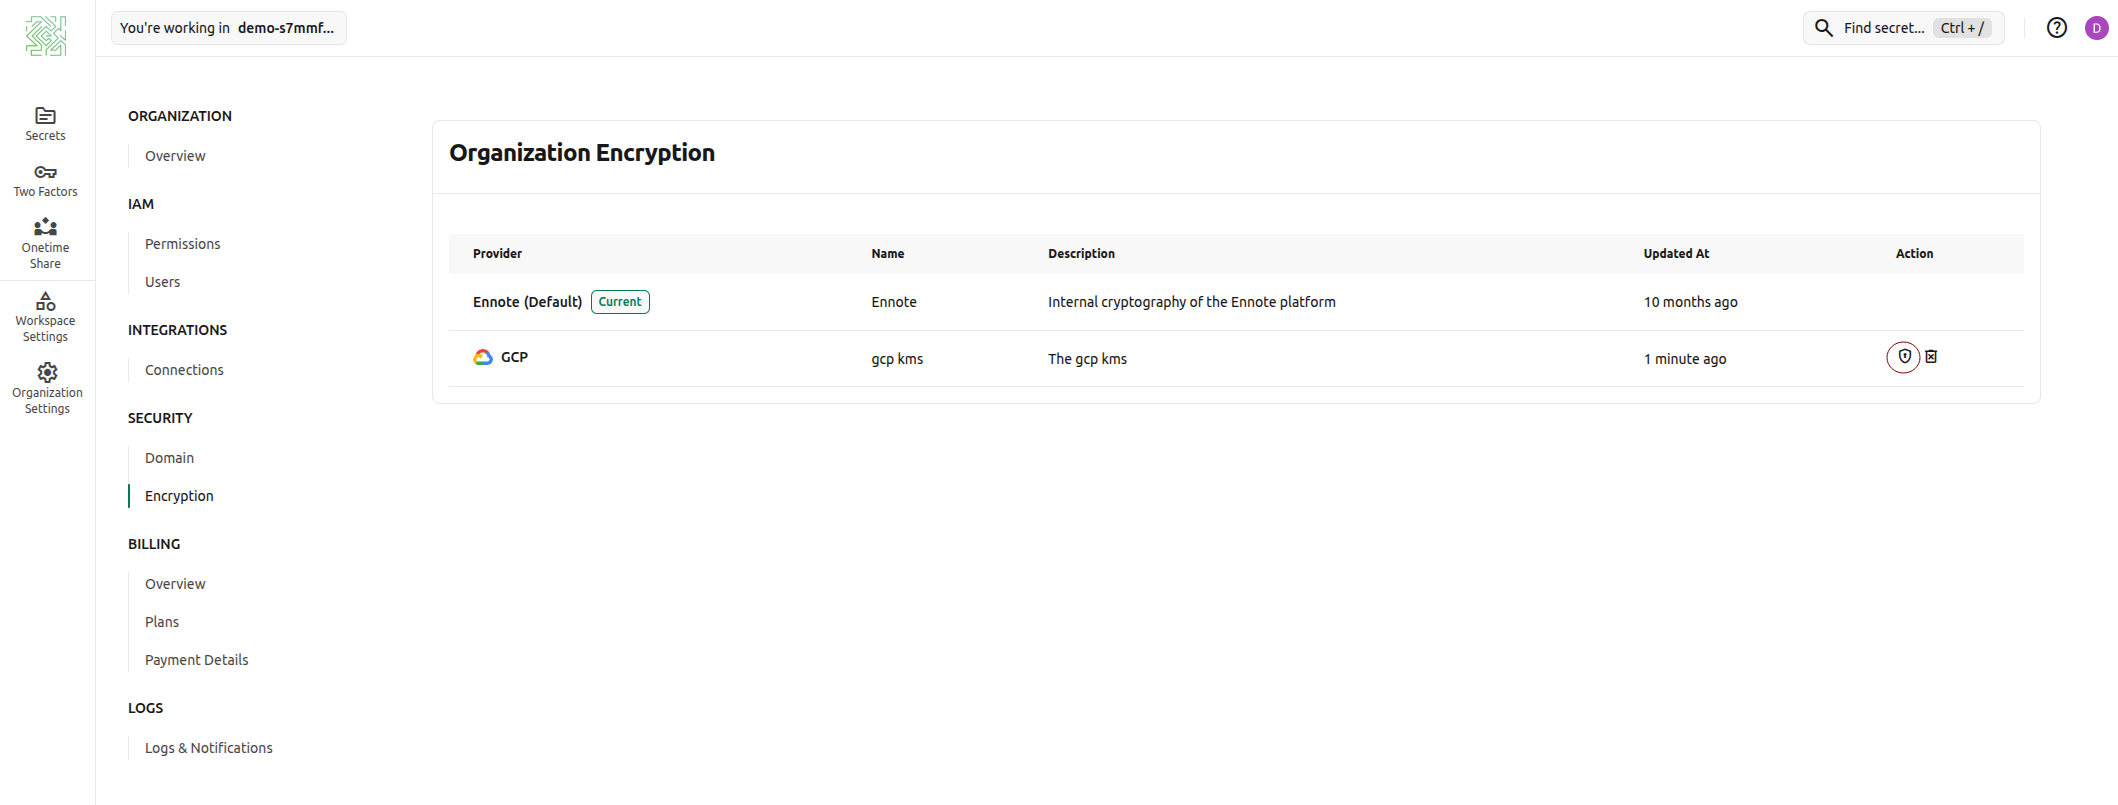
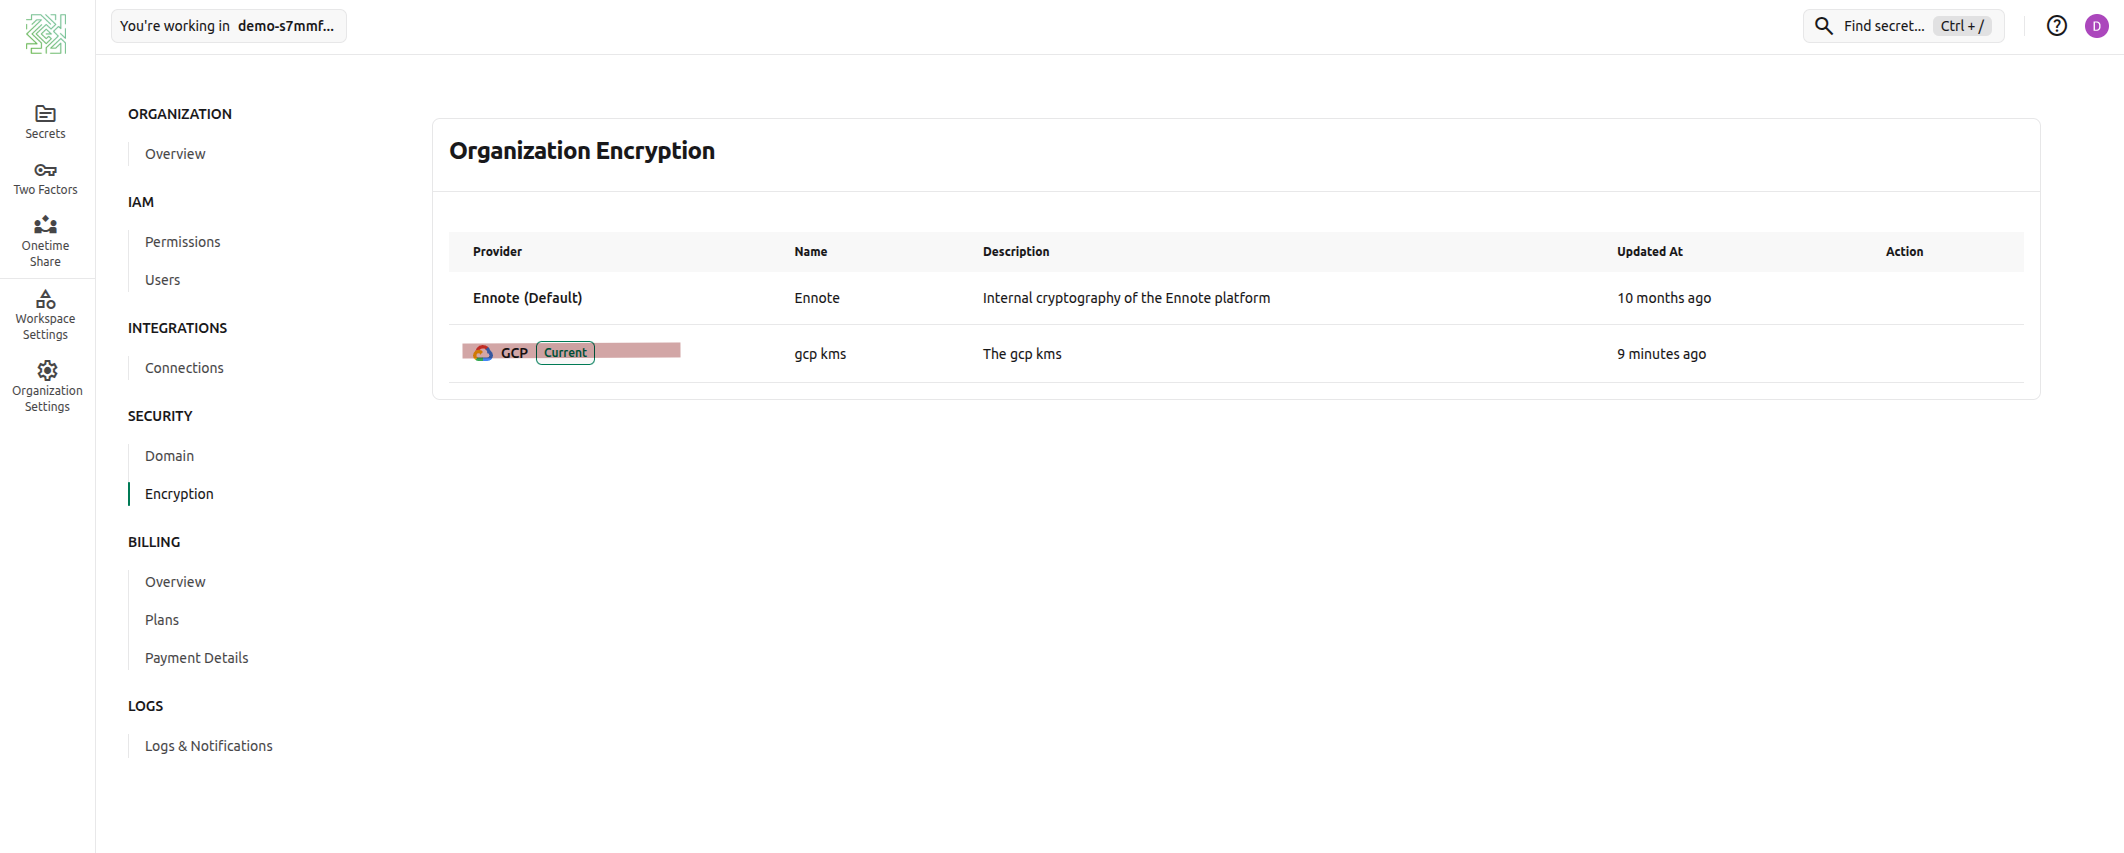
Switching to GCP KMS for Organization Encryption
You are now ready to switch the project's encryption from Ennote's default KMS to the GCP KMS key you have just configured. This is a critical step that will re-encrypt all existing secrets.
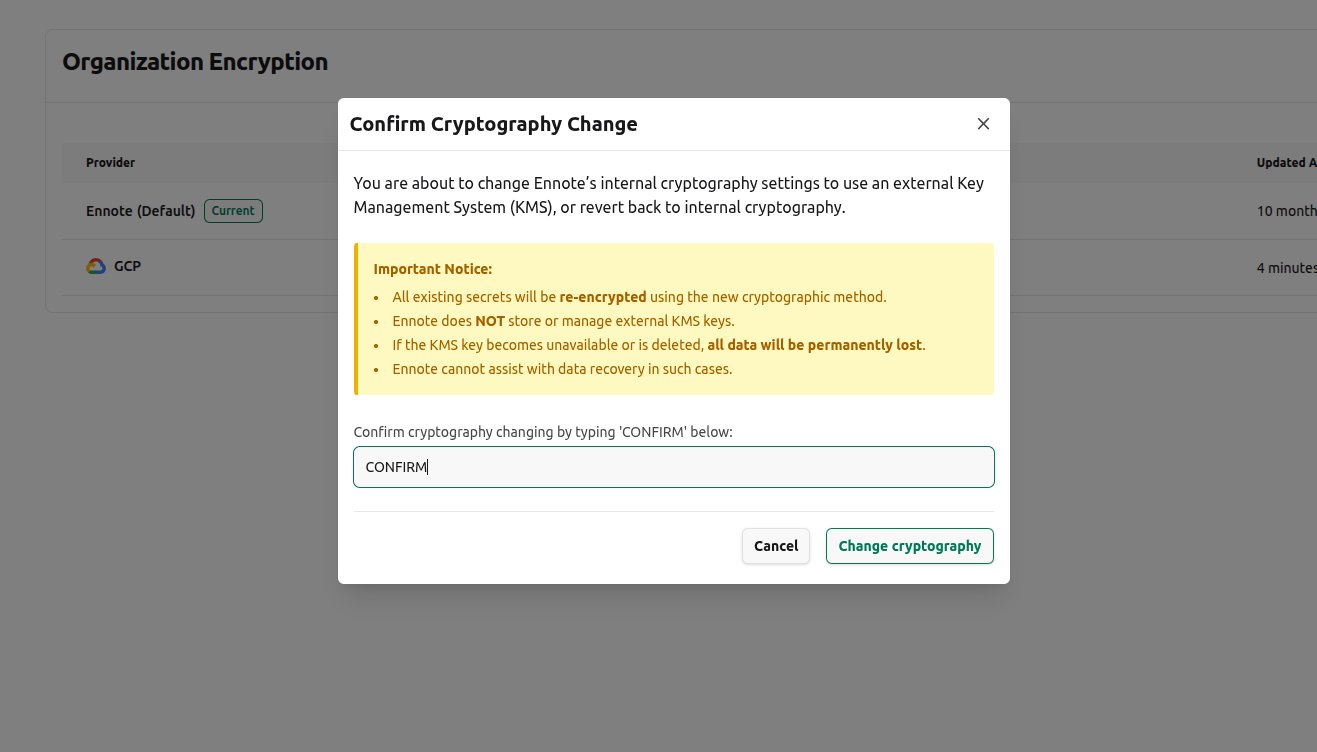
Important Notice:
- All existing secrets will be re-encrypted using the new cryptographic method.
- Ennote does NOT store or manage external KMS keys.
- If the KMS key becomes unavailable or is deleted, all data will be permanently lost.
- Ennote cannot assist with data recovery in such cases.
Need Help?
If you encounter any issues or have questions, don’t hesitate to contact support. Our team is here to assist you with any challenges you might face.
© 2026 Ennote.io. All Rights Reserved.